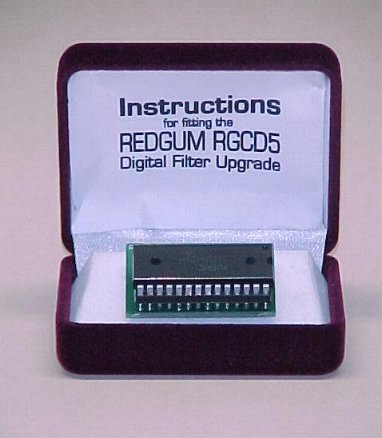
REDGUM RGCD5 Upgrade kit
Allows plug in replacement of NPC SM5813APT with NPC SM5842APT
|
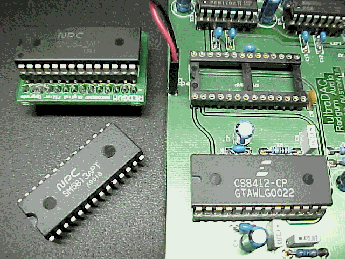
Preparation Turn off the RGCD5 and remove the power cord from the rear socket. Remove the 4 screws from the top cover using the Allen key supplied. Locate the NPC SM5813APT Integrated Circuit near where the digital connection wires attach to the circuit board
| |

|
Removal Remove the SM5813APT I/C by gently sliding a small screwdriver between the I/C and its socket. |
|
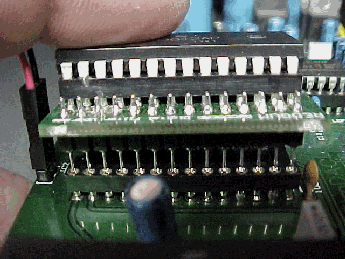
This photograph shows the socket on the "motherboard" now ready to accept the upgrade "daughterboard". |
|
Replacement The SM5842APT I/C is DIRECTIONAL and should have the ‘half-moon’ shaped symbol on the end pointing to the digital connector (same direction as shown in these photos).
|